
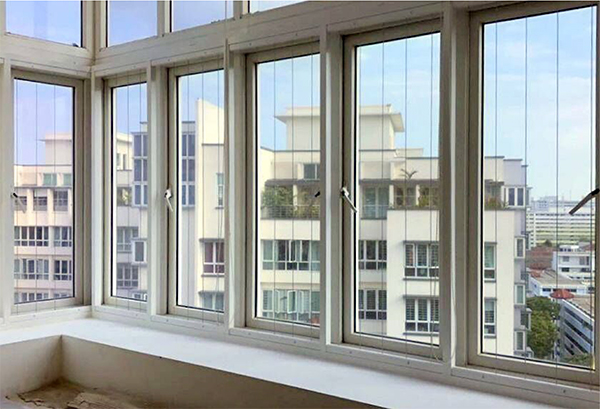
Invisible grilles are an innovative solution for homeowners who want to enhance the safety and security of their balconies without sacrificing the aesthetic appeal of their homes. These grilles are designed to be discreet, blending in seamlessly with the surrounding wall and railing, and providing an unobstructed view of the outside. In this article, we will take a step-by-step look at how invisible balcony grilles are installed in condominiums, and what you can expect during the installation process.
Step 1: Preparation
Before the installation of your invisible balcony grille begins, the contractor will need to assess the condition of your balcony to ensure that it is suitable for the installation. This includes checking the wall and railing for any cracks, damage, or other structural issues that may impact the stability of the grille. The contractor will also need to take precise measurements of your balcony, so that the grilles can be custom-made to fit your specific needs.
Step 2: Custom Manufacturing
Once the contractor has assessed your balcony and taken the necessary measurements, they will begin the process of custom manufacturing your invisible grilles. This involves designing the grilles to fit the exact specifications of your balcony, taking into account factors such as the size, shape, and orientation of your railing. The grilles will then be manufactured using high-quality materials, such as aluminum or stainless steel, to ensure maximum durability and longevity.
Step 3: Site Preparation

Before the installation of your invisible balcony grille begins, the contractor will need to prepare the site by cleaning the wall and railing and making any necessary repairs. This may include patching up any cracks or damage, and ensuring that the surface is clean and free of debris. The contractor will also need to prepare any tools and equipment that they will need for the installation, such as drill bits, brackets, screws, and anchors.
Step 4: Installation
The installation of your invisible balcony grille will begin with the attachment of brackets to the wall and railing. These brackets will serve as the anchor points for the grille, and will be carefully positioned to ensure that the grille is securely attached to the balcony. Once the brackets are in place, the contractor will install the grille panels, attaching them to the brackets and making any necessary adjustments to ensure a tight fit. The contractor may also install any additional features, such as locking mechanisms or handrails, to enhance the safety and security of your balcony.
Step 5: Testing and Final Inspection

Once the installation of your invisible balcony grille is complete, the contractor will perform a thorough inspection to ensure that everything is in working order. This includes checking the stability of the grille, verifying that all locking mechanisms are functioning properly, and ensuring that there are no gaps or loose connections. If everything passes inspection, the contractor will then give you a demonstration on how to use and maintain your invisible balcony grille.